The easiest way to overpack for a dog hike is to shop by object: boots, bowls, packs, lights, toys. A better checklist starts with five jobs the outing must cover.
Quick answer: pack for control, water, identification, cleanup, and communication. In practical terms, that means a leash you can shorten, a fitted harness or collar with current ID, water and a bowl, waste bags, useful rewards, and a phone with the route saved. Weather, distance, and remoteness decide what gets added.
This is a packing page for day hikes and neighborhood-to-trail outings. It is not a mileage plan or a promise that every trail suits every dog. For conditioning, route choice, and trail behavior, start with Hiking With Your Dog.
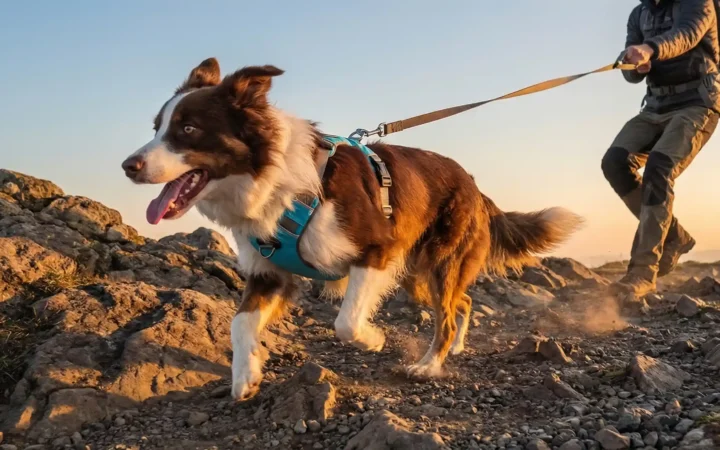
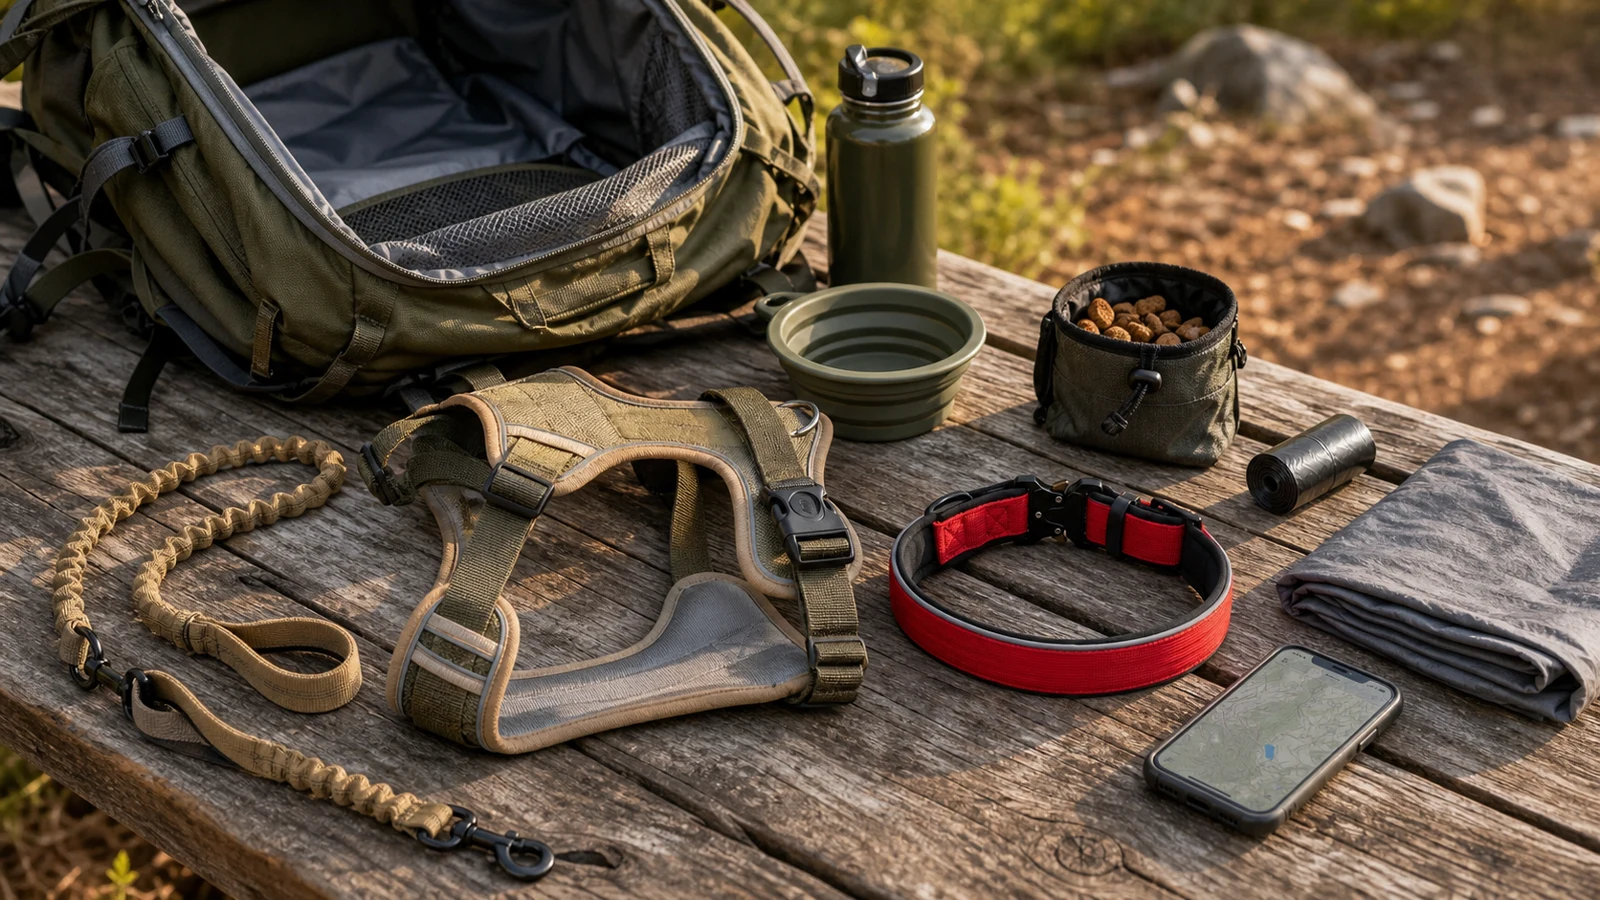
Image note: the header is an illustrative packing scene built around current Mydoggg product images. It is not a field test or a claim that the pictured kit is complete for every route. Catalog images farther down show the current products themselves.
The 60-second check before anything goes in the bag
Confirm these five things while you still have Wi-Fi and an easy way to change plans:
- Access: are dogs allowed on the exact trail, and what leash rule applies?
- Conditions: what do the current temperature, rain, ground, daylight, and alerts look like?
- Distance and exits: where can you shorten the route or turn around?
- Dog today: is your dog moving, eating, and behaving normally before departure?
- Communication: is the route saved, and does someone know where you expect to be?
Rules vary by land manager and sometimes by trail inside the same park. The National Park Service hiking-with-pets guidance recommends checking park access, carrying extra water, using a leash, and packing out waste. The page for the specific park or trail remains the source of truth.
If one answer changes, the packing list should change too. A hot exposed loop needs more water planning than a shaded local path. A wet return needs a towel. An early start may need a headlamp and more reflective coverage. A route with no easy exit deserves more margin than a park loop beside the car.
The one-screen dog hiking gear checklist
On the dog
- A fitted harness suited to the dog and route
- A collar with current, readable identification
- A standard leash that meets local rules and can be shortened without wrapping it around your hand
Within one-hand reach
- Water and a lightweight bowl
- Waste bags, plus a separate way to carry filled bags out
- A small amount of familiar food or high-value treats
- Phone with the route saved offline or captured in screenshots
- Any medication or veterinary item already prescribed for this dog
Deeper in the pack or left in the car
- Weather layer or cooling plan appropriate to that morning’s conditions
- Small towel for mud, paws, or the car
- Backup leash on longer or more remote routes
- Route-specific paw protection only if the dog already accepts it
- Basic first-aid items you know how to use, plus an exit plan
That is the core list. Everything else has to earn its weight by solving a route-specific problem.
Pack by location, not just by category
A checklist can be complete and still fail if the useful item is buried under lunch and spare clothing. Before leaving the trailhead, assign every item to one of three places.
1. On the dog: control and identification
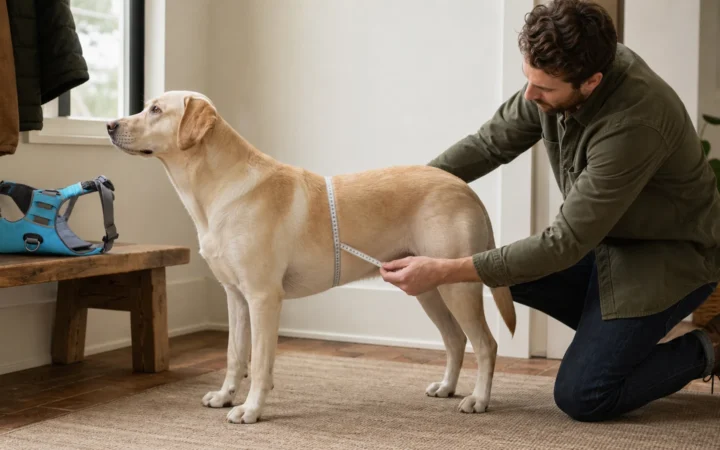
The harness or collar has to be fitted before the exciting part of the day begins. Recheck buckles, strap position, ID, and the leash connection beside the car—not after the dog is pulling toward the trail. Our harness fitting guide explains the on-body and movement checks.
“No-pull” describes a handling layout; it does not guarantee that a dog will stop pulling. A front attachment, back attachment, or top handle can change the options available to the handler, but fit, leash handling, training, and the dog’s response still determine the walk.
2. Within reach: water, waste, and short transitions
Water that requires unpacking the entire bag tends to be offered later than water in an outside pocket. The same is true for waste bags and treats. Put the first bowl stop, a few bags, and the rewards you plan to use where one hand can reach them while the other hand keeps the leash secure.
The useful leash is the one you can shorten before a parking-lot exit, narrow pass, bridge, wildlife sighting, or busy trail junction. Shorten early; do not wait until the dog has reached the end of the line.
3. Deeper in the pack: low-frequency backup
A towel, light layer, backup leash, and first-aid supplies do not need to compete with water for the quickest pocket. They still need a known location. If two adults share the load, say out loud who has the water, who has the waste capacity, and where the backup lead lives.
Build the control layer from real features
Mydoggg currently sells the control and identification layer—not the entire hiking kit. Water, waste supplies, route information, paw care, and first-aid planning still come from the owner. That boundary matters more than making the list look like a full catalog.
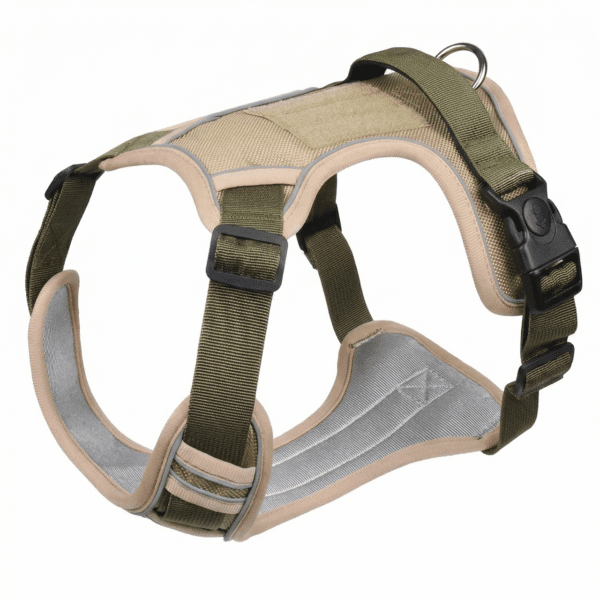
- 1680D Tactical No-Pull Dog Harness with Handle: four adjustment points, reflective trim, a front leash point, and a padded top handle for brief close-control moments. The handle is not for carrying the dog or steering throughout the hike.
- No-Pull EVA Padded Adventure Harness: an EVA-padded chest panel, four adjustment points, front and back leash points, and reflective trim. It is a more streamlined alternative when a top handle is not the deciding feature.
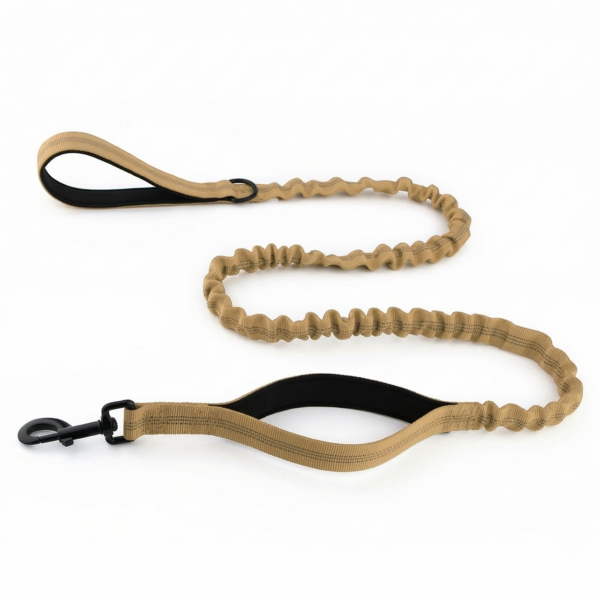
- Shock-Absorbing Dual Handle Dog Leash: two padded grips, a bungee section, reflective webbing, and a swivel clip. The closer grip is the useful detail for brief tight passes; the bungee does not make an uncontrolled route appropriate.
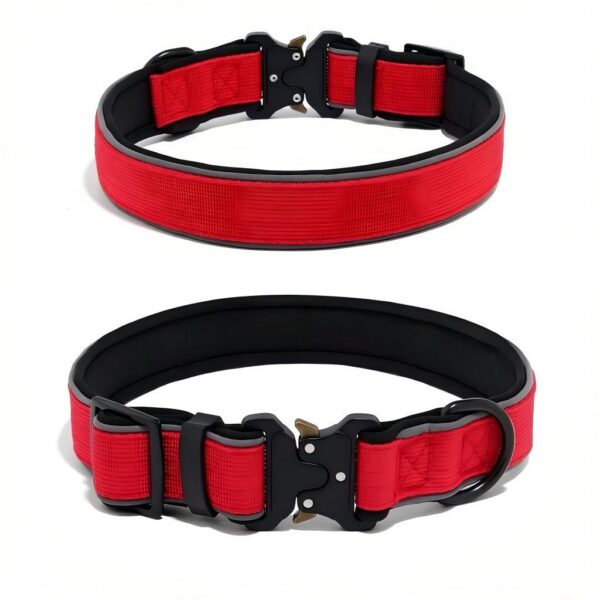
- Adjustable Reflective Outdoor Dog Collar: SBR neoprene padding, reflective tubing, and adjustable fit. Use it as a collar and ID layer, not as a substitute for current tags or a recovery plan.
Current product-page specifications tell you what features exist. They do not prove that one setup will fit every dog or perform the same way on every trail.


Let the route earn the extra items
Short local loop with easy exits
Keep the kit small: control gear, ID, water and bowl, waste capacity, treats, phone, and a towel if the ground is wet. Easy exits reduce the need for backup equipment; they do not remove the need to check access and conditions.
Hot, exposed, or dry route
Carry more water margin, make the bowl easy to reach, and know where shade and exits are before starting. Do not count on a stream being present, accessible, or appropriate to drink from. If the forecast or dog makes the route doubtful, choose a cooler time or a shorter route instead of treating extra gear as permission to continue.
Wet, muddy, or brushy route
Add a towel, a bag for wet equipment, and time for a post-hike paw and coat check. Keep filled waste bags separate from clean gear. Inspect straps and padding after the outing rather than storing them damp inside the pack.
Early start or late finish
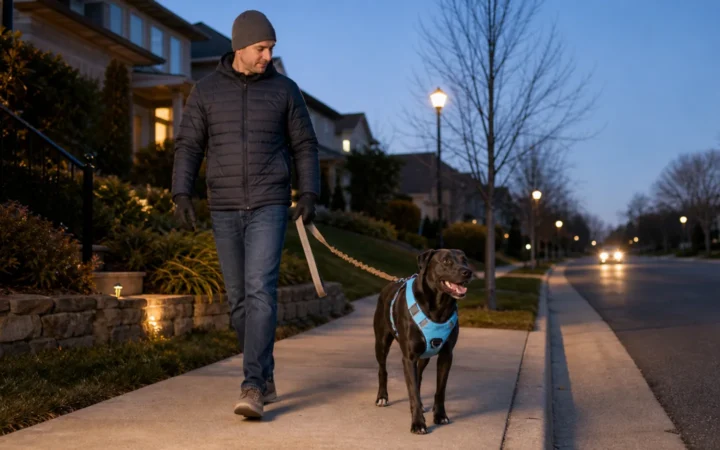
Add a handler light and visibility across the dog–leash–handler line. Reflective trim only returns light that reaches it; it does not illuminate a dark trail. The night-walking safety guide explains that distinction in more detail.
Remote or rough route
Add navigation redundancy, a backup leash, more exit margin, and first-aid items you already understand. Save the route before signal disappears. If you cannot describe how you would get an injured dog back to the trailhead, that is a route-planning problem, not a shopping-list problem.
A trailhead assembly order that catches mistakes
Use the same order each time so excitement does not decide what gets skipped.
- Put the collar and current ID on the dog.
- Fit the harness and confirm that the straps are flat, centered, and clear of the armpits and throat.
- Clip the leash and hold it before opening a car door, gate, or crate.
- Put water, bowl, waste bags, and treats in reachable pockets.
- Confirm that the route is saved and the phone has enough charge for the plan.
- Set a turnaround time before starting.
The point is not ceremony. It is to stop a missing ID tag, empty water bottle, loose strap, or inaccessible waste bag from becoming a trail problem.
What you can usually leave behind
- A heavy dog backpack on a dog that is not conditioned to carry it
- New boots introduced for the first time at the trailhead
- Bulky toys that do not support control, rest, or the route plan
- A second “maybe” harness that has never passed a fit check
- Gadgets that duplicate a job already covered by simpler gear
- Long retractable leads on busy or narrow mixed-use routes where precise control matters
Optional gear is not bad. Unfamiliar gear, unnecessary weight, and equipment that creates another failure point are the problem.
Reset the kit after the hike
The next checklist begins when you return, not when you pack again.
- Refill water and replace the bags and treats you used.
- Dry the harness, collar, leash, towel, and pack before storing them.
- Check webbing, stitching, rings, clips, and buckles for damage or grit.
- Look at the dog’s paws and contact areas for irritation.
- Note what ran short, what stayed buried, and what you reached for repeatedly.
That short record is more useful than copying a longer generic checklist before the next trip.
Dog hiking gear checklist questions
How much water should I bring for my dog?
There is no single amount that fits every dog, climate, route, and pace. Carry enough for the conditions with margin, make it easy to offer, and know where the exits are. For individualized advice—especially for a dog with a health condition—ask your veterinarian.
Does my dog need a backpack?
Not for most day hikes. Only add carried weight when the dog is conditioned, the pack fits correctly, and the load is appropriate. A dog backpack is not a requirement for the dog to qualify as a hiking companion.
Harness or collar for hiking?
Many handlers attach the leash to a fitted harness and keep a collar for current identification. The right choice depends on fit, the dog’s handling needs, and the route. Neither label replaces an on-body check.
Are retractable leashes suitable for trails?
They can make precise shortening and close passes harder, especially with a strong dog on a narrow or mixed-use route. Follow local leash rules and choose a format you can control without wrapping line around your hand.
What is the most commonly forgotten part of the kit?
Usually not a special accessory. It is usable water, enough waste capacity, current ID, an offline route, or a realistic turnaround time.
Pack once, then remove what did not earn its place
Cover the five jobs, place the fast-access items where you can reach them, and let the real route decide the extras. Fit-test the control gear at home and save the route before leaving. After the hike, use what actually happened to make the next list shorter and better.
If the missing layer is control or identification, compare Mydoggg dog harnesses, dog leashes, and dog collars by the job they need to do—not by the number of accessories in the photo.