Start with a measuring tape, not your dog’s weight, breed, or the size worn by a dog in a product photo. Those are useful clues, but none of them tells you whether a harness will stay centered on your dog.
Quick answer: Measure the chest girth at the widest part of the ribcage, then the base of the neck where the harness will sit. Compare both numbers with the measurement range for the exact harness. Once it is buckled, check that the straps stay out of the armpits and off the throat. A common starting check is enough room to squeeze two fingers under the main straps, followed by a short movement and reverse-step test.
The checks below are for ordinary walking and outdoor gear. If your dog has pain, breathing trouble, a mobility condition, or is recovering from surgery, ask a veterinarian which equipment layout is appropriate.
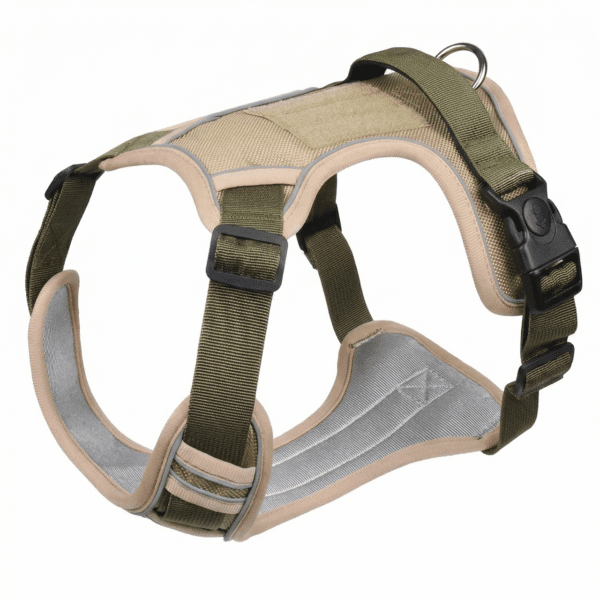
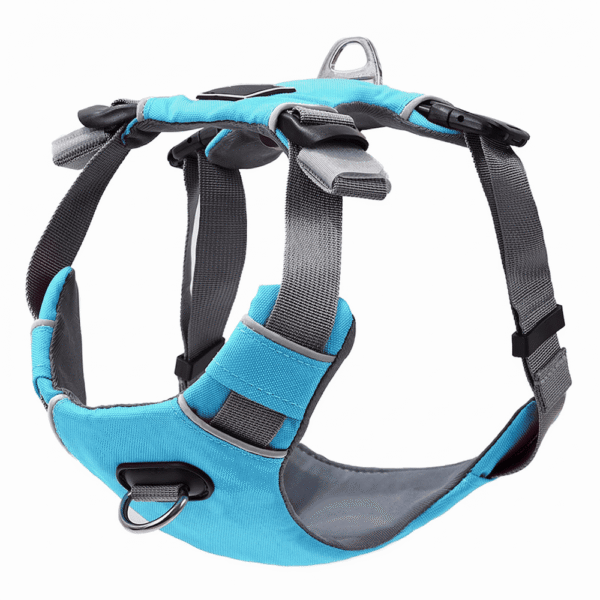
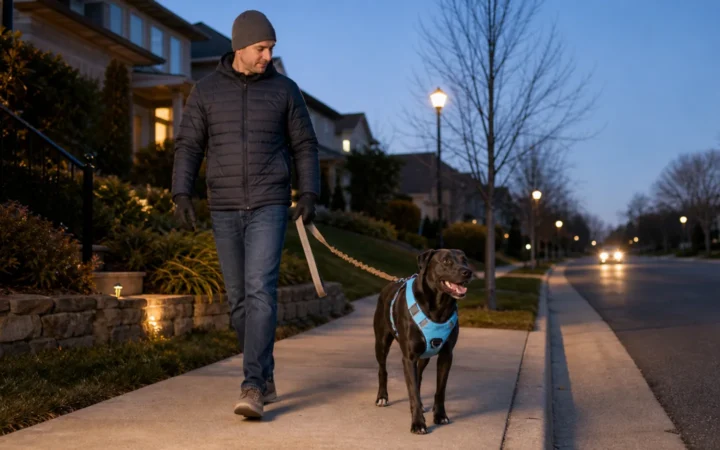
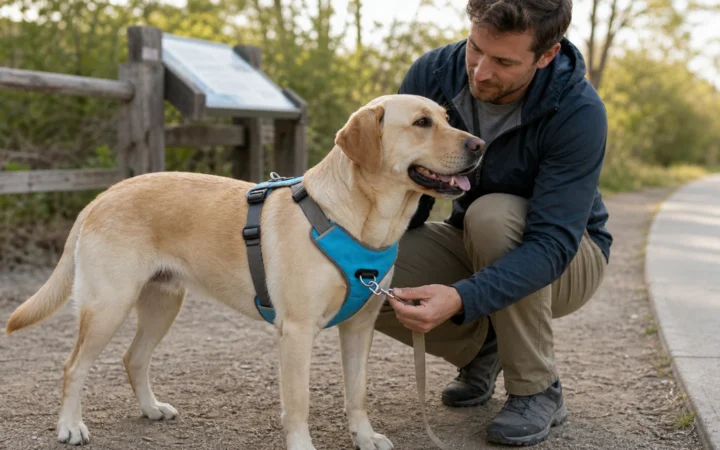
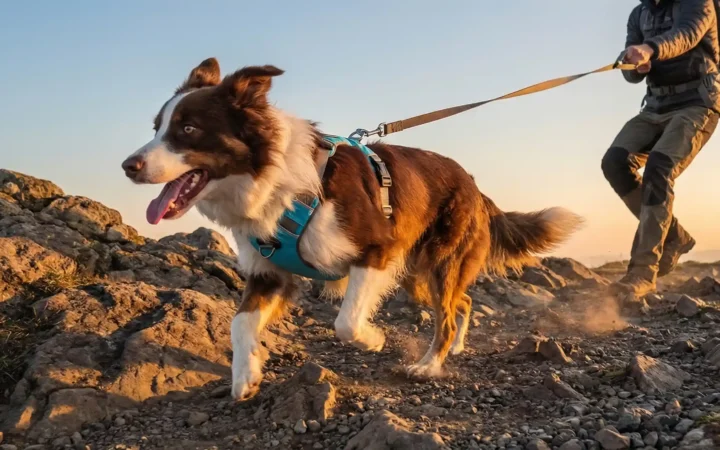
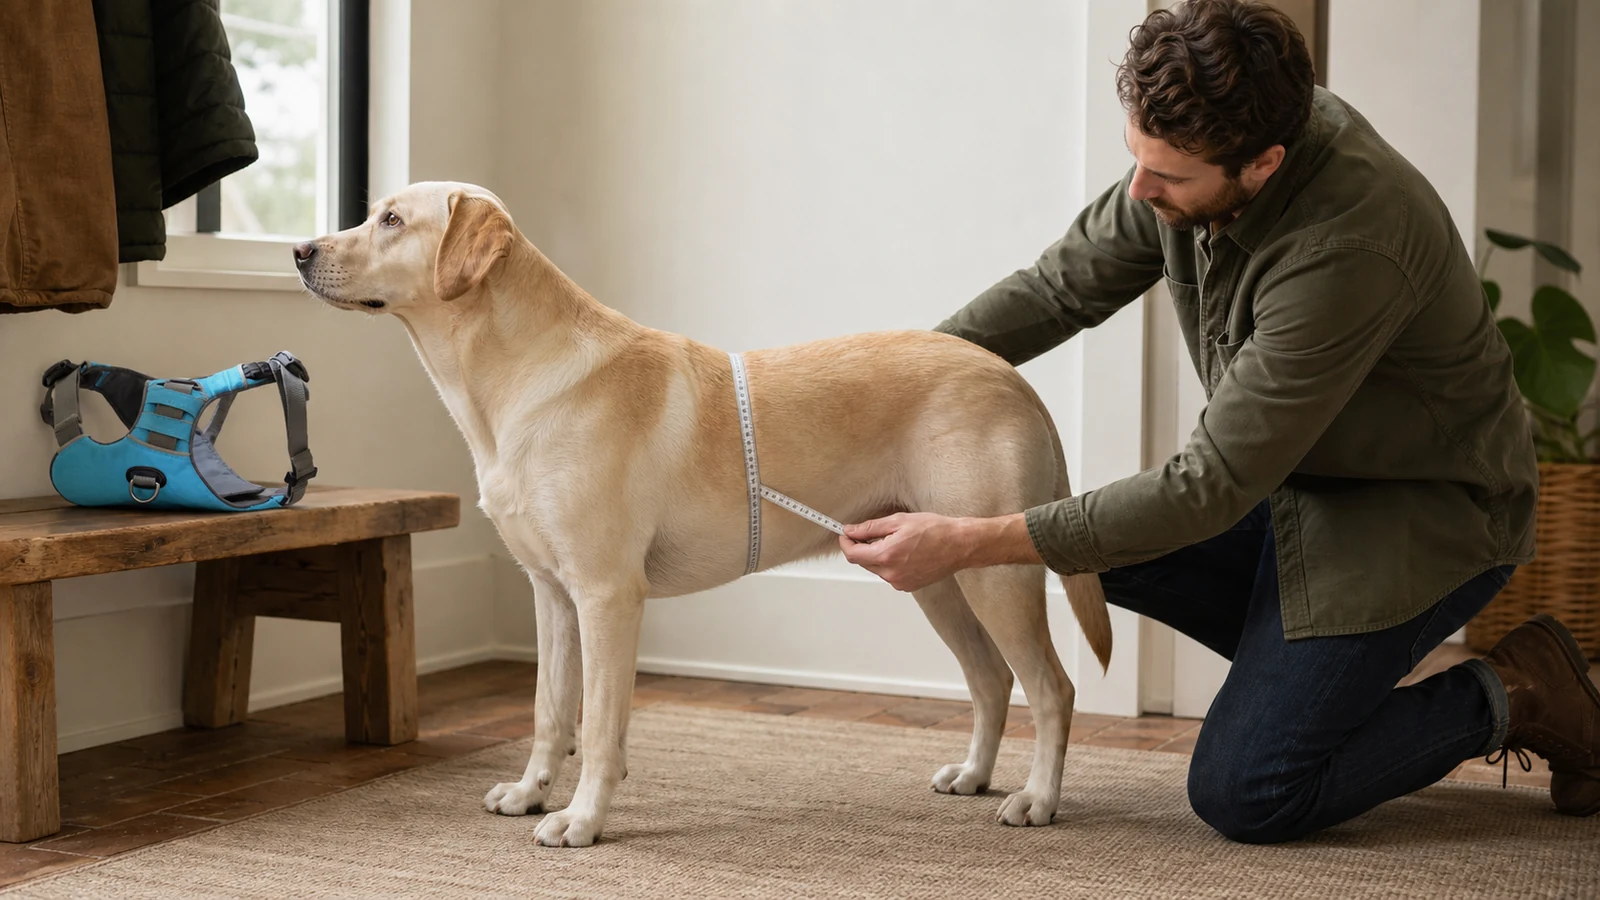
Image note: the header is an illustrative measuring scene, not a fitting or performance test. The product images below are current Mydoggg catalog images.
What you need before you measure
- A soft measuring tape, or string that you can mark and measure against a ruler
- A few treats so your dog will stand calmly
- The measurement chart for the exact harness you plan to buy
- A second person for a large, wiggly, or long-coated dog
Measure while your dog is standing square on all four feet. The same position will make it easier to repeat the measurement later.
Step 1: Measure chest girth
For most harnesses, chest girth is the main sizing measurement.
- Find the widest part of the ribcage, usually just behind the front legs.
- Wrap the tape all the way around and keep it level with the floor.
- Hold it against the coat without squeezing the body.
- Write the number down in both inches and centimeters so you can use either type of chart.
- Repeat once. If the two readings differ, reset the tape and measure again instead of averaging a rushed result.
This is not a Mydoggg-only convention. The AKC guide to choosing and fitting a harness identifies the base of the neck and the widest part of the chest as the two key measurements when a dog cannot try a harness on first.
For thick coats: keep the tape close to the body rather than measuring a loose outer layer of fur.
For dogs near a size boundary: prioritize the chest range, then confirm the neck range and adjustment layout. Size letters are labels, not measurements.
Step 2: Measure the base of the neck
Measure where the harness opening will rest—near the base of the neck where it meets the shoulders, not high under the jaw.
- Place the tape around that point.
- Keep it snug enough to stay in position without pressing into the neck.
- Record the number and compare it with the harness neck range when one is provided.
Harnesses use different front shapes. The neck number helps you rule out an opening that cannot be adjusted comfortably, but the on-body check still decides whether that shape works for your dog.
Step 3: Translate measurements into a size
Use the chart for the exact product. An M from one harness may not match an M from another.
At the time of publication, the current Mydoggg pages for the 1680D Tactical No-Pull Dog Harness with Handle and No-Pull EVA Padded Adventure Harness list S, M, and L as orderable sizes, but do not display the corresponding chest and neck ranges. Do not guess from the letters alone. Send your dog’s chest and neck measurements through Mydoggg order support before ordering. We are noting the missing chart instead of inventing measurements.
When a complete chart is available:
- Choose a size that includes the chest measurement.
- Confirm the neck measurement also falls within range.
- Leave usable adjustment room in both directions.
- If the dog is still growing or has seasonal coat changes, remeasure regularly.
Step 4: Account for body shape and adjustment range
Two dogs with the same chest girth can still need different strap positions.
- A deep chest needs enough clearance so the girth strap does not press into the elbows.
- A narrow front may need more even left-right adjustment to stop the harness rotating.
- A broad shoulder line needs a front shape that allows a natural forward stride.
- A long coat can hide a twisted strap or a gap, so smooth the coat before checking.
Both current Mydoggg harnesses list four adjustment points across the neck and chest. The 1680D model adds a padded top handle and reflective trim. The EVA model uses a more streamlined EVA-padded chest panel with front and back leash points. More adjustment gives you more ways to balance the fit; it does not make every size or shape compatible with every dog.


Step 5: Put the harness on straight
Fit problems often begin with orientation rather than strap tension.
- Identify the chest panel, back section, and leash ring or rings.
- Open the belly or side buckles.
- Slip the neck opening over the head, or open the neck straps when the design allows it.
- Center the front piece on the chest.
- Buckle the girth strap behind the front legs.
- Smooth the coat and make sure no strap is twisted.
On an unfamiliar dual-clip harness, identify the front and back leash points before tightening anything. Clip position affects handling; it does not replace a correct fit.
Step 6: Run five on-body checks
Use these checks after every first fitting and after washing or readjusting the harness:
- Strap tension: you should be able to squeeze two fingers under a main strap, but not slide them through a loose gap. Treat this as a starting check, not a universal measurement.
- Armpit clearance: the girth strap should sit behind the front legs, not inside the elbow crease.
- Throat and shoulder line: the front should stay off the throat and should not pull toward one shoulder.
- Hardware placement: rings, buckles, and any top handle should not press into the spine or armpit.
- Symmetry: match the left and right adjustments so one side is not pulling the harness around the body.
Step 7: Do a short movement and reverse-step test
Do not judge the fit only while your dog is standing still.
- Walk a short indoor loop, then a familiar outdoor loop.
- Ask for a sit and make several turns in both directions.
- Watch for a shortened front stride, repeated scratching at a strap, rubbing, or a harness that spins.
- Apply light leash pressure from the attachment point you plan to use. The harness should remain centered.
- With the leash controlled and the area secure, let the dog take a few steps backward. Check whether the neck opening begins to pass over the head.
If the harness shifts, tighten in small, even increments and repeat the test. If every strap must be pulled to its limit, or the harness still presses into the throat or elbows, try another size or shape.
Recheck the fit after the first few outings
- After 10–15 minutes: webbing can settle once the dog starts moving.
- After a long or wet walk: check the armpits, chest, and padded contact areas for rubbing.
- After grooming, weight change, or coat change: repeat both measurements.
- Before relying on a top handle: practise a brief calm hold at home. A handle is for short close-control moments, not lifting or steering the dog through an entire walk.
If reflective placement matters for evening routes, the night-walking safety guide explains what reflective trim can and cannot change.
Fit and training are different jobs
A well-fitted harness gives you usable attachment points and helps keep pressure away from the throat. It does not teach loose-leash walking or guarantee that a dog will stop pulling.
If pulling is the main problem, pair equipment with gradual training. For broader route and trail preparation, see Hiking With Your Dog.
Harness-fit questions
How tight should a dog harness be?
It should stay centered during turns and backward steps without pinching. Being able to squeeze two fingers under the main straps is a common starting check. Movement, armpit clearance, and the dog’s comfort matter more than the finger rule by itself.
What if my dog falls between sizes?
Use chest girth first, then neck range and available adjustment. If neither size leaves a workable fit at both points, choose a different harness shape rather than forcing one letter to work.
Can my dog wear a harness all day?
Harnesses are generally intended for walks, training, and supervised outings. Continuous wear can increase rubbing and catch risks. Remove the harness when your dog is unsupervised or crated unless a qualified professional has advised a different setup for a specific reason.
Does “no-pull” mean the harness will stop pulling?
No. It describes a handling layout, usually involving a front attachment or pressure distribution across the chest. Training, leash handling, and the dog’s response still determine the walk.
Before the first long walk
Write down the chest and neck measurements, take one side photo of the adjusted harness, and walk a short familiar loop. That gives you a baseline if a strap later slips or the harness starts rotating.
Only keep a size that passes the on-body and movement checks on your dog. Then compare Mydoggg dog harnesses by adjustment layout, padding, leash points, and whether you need a brief close-control handle—not by color or size letter alone.