A front clip and a back clip are not two quality grades. They are two ways to connect the leash to a harness, and each changes the line between your hand and the dog.
Quick answer: use the front chest attachment when you need more help changing direction during a controlled walk. Use the back attachment when the dog is moving steadily and you want the leash line to stay above the body. On a dual-clip harness, the practical choice can change during the same outing.
Choose for the next part of the route—not for the product label. A busy car park, a straight open path, and a narrow pass do not create the same handling problem.
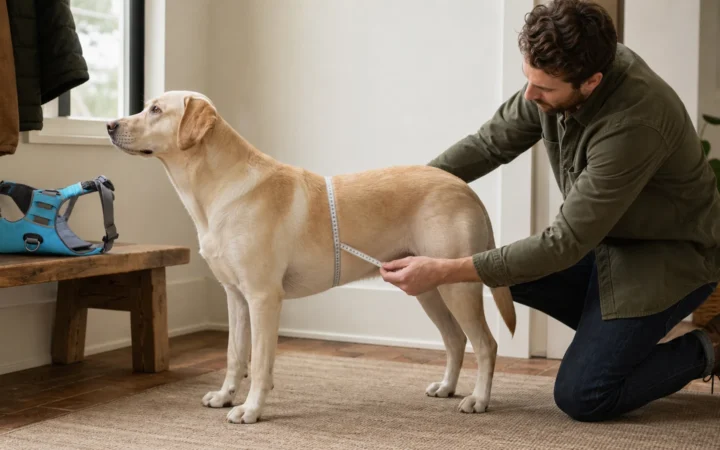
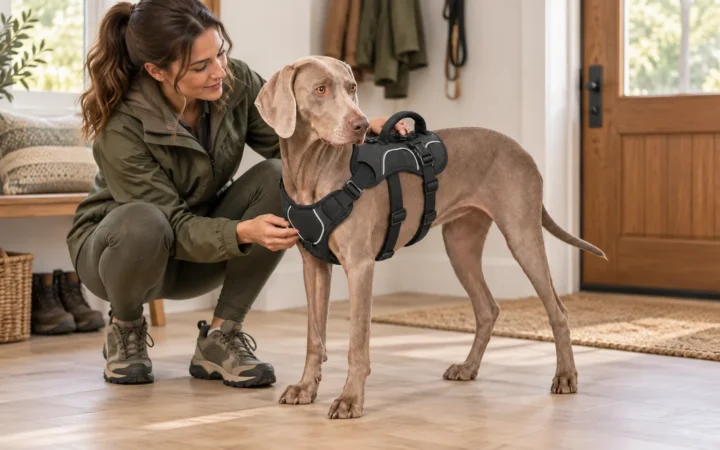
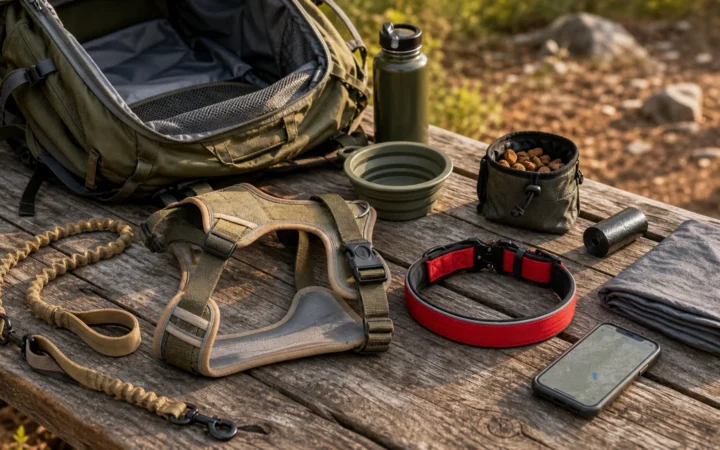
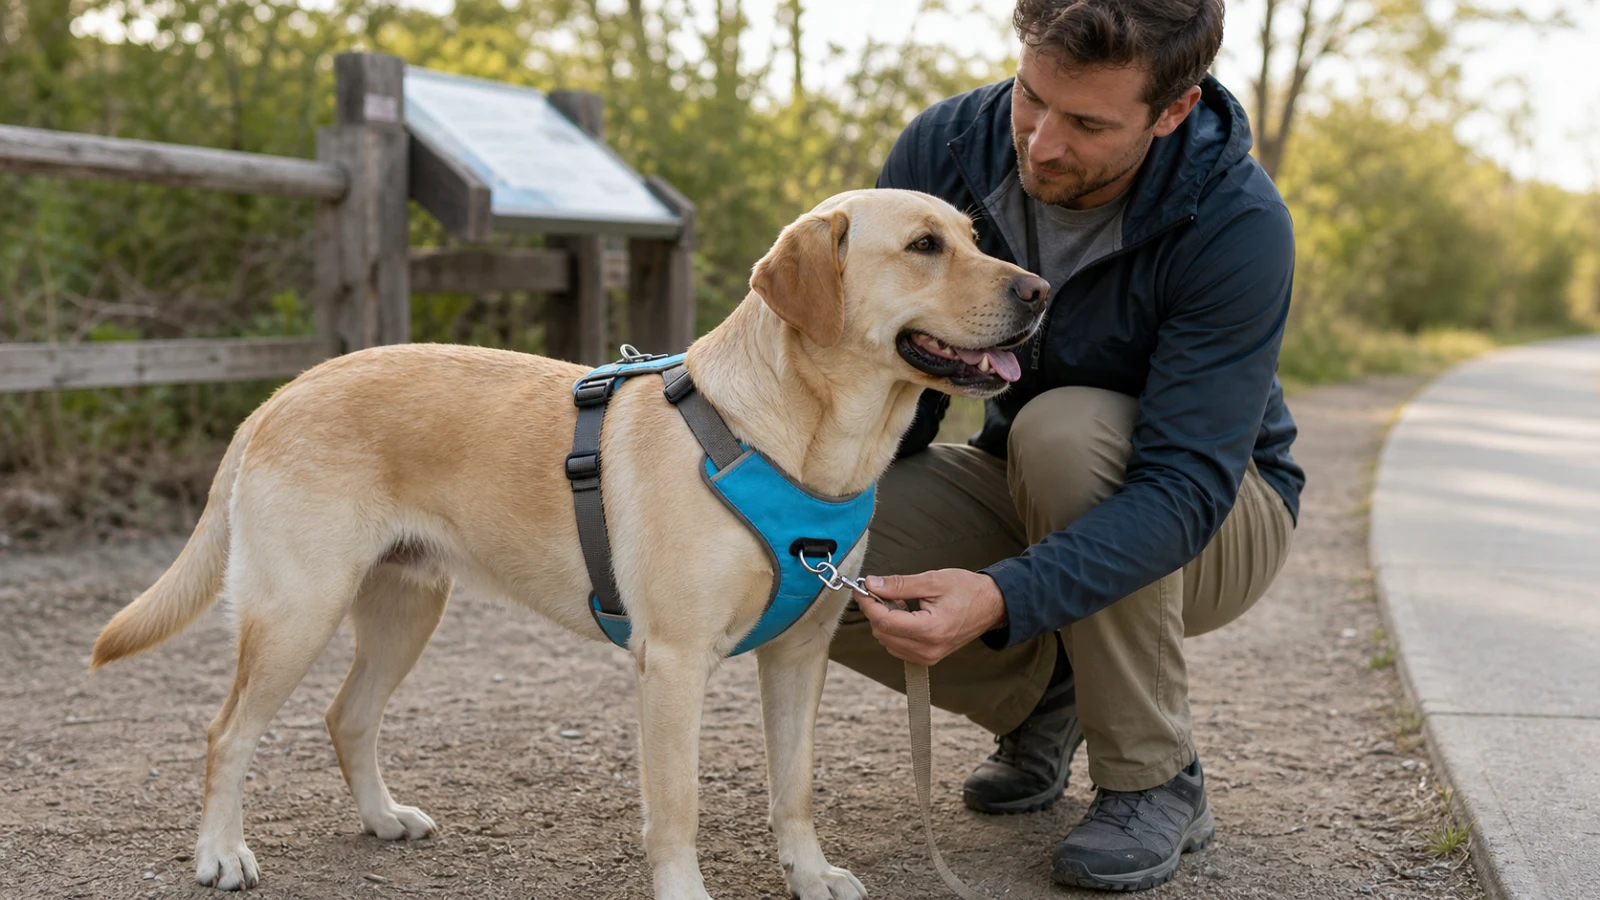
Image note: the header is an illustrative pre-walk scene based on the current blue-and-charcoal Mydoggg dual-clip harness. It is not a field test, fit result, or claim that one attachment stops pulling.
The difference is the direction of the leash line
A front clip sits on the chest panel. When the leash is held to one side and the dog moves ahead, the connection can help turn the chest rather than letting all of the force continue straight forward. That can make a change of direction easier to communicate.
A back clip sits on top of the harness. The leash line usually stays above the dog and away from the front legs. On calm, straight sections, that simpler line can be easier to manage. If the dog drives forward into a tight leash, however, the connection remains closer to the direction the dog is already travelling.
That is the mechanical distinction. It does not tell you whether the harness fits, whether the leash is an appropriate length, or whether the dog has learned to walk on a loose leash. The American Kennel Club overview of harness types also treats front attachment as a handling aid for pulling rather than a replacement for training.
Front clip vs back clip at a glance
- Busy trailhead or car park — start with the front clip. It can give more directional influence before the route opens up. Watch for harness rotation and a leash crossing a front leg.
- Calm, straight walking — consider the back clip. It keeps a cleaner leash line above the dog. Watch for tension building unnoticed.
- Narrow pass beside people or dogs — front clip with a shortened leash may help. Switch before the dog accelerates, not in the middle of the pass.
- Sniff break in an open, permitted area — consider the back clip. Keep the maximum distance within what you can recover safely.
- Dog or harness is new to you — neither ring is proven yet. Test fit and movement before treating the first real walk as an equipment test.
These are starting points, not rules. The correct attachment is the one you can use without the harness shifting, the leash tangling, or the situation exceeding your control.
When the front attachment earns its place
The front clip is most useful when the immediate job is redirecting, not merely moving forward.
Consider it for:
- the first minutes after leaving a car or front door;
- approaching a crossing, gate, queue, or crowded viewpoint;
- passing a distraction with enough distance to stay under control;
- practising turns and check-ins on an ordinary walk;
- returning through a busy trailhead after a calmer back-clip section.
Keep the leash short enough to respond before the dog reaches full speed, but not held in constant hard tension. Watch the line during turns. Depending on the dog’s position and the leash angle, a chest connection can let the leash brush or cross a front leg.
If the harness twists toward one shoulder, do not assume the front ring is defective. Stop and check strap symmetry, chest-panel position, and size. The dog harness fitting guide covers the on-body and movement checks that should come before clip choice.
When the back attachment is the cleaner choice
The back clip is often the simpler option when the immediate job is steady travel.
Consider it when:
- the dog is already walking with a loose or lightly tensioned leash;
- the path is open enough that quick redirects are less likely;
- the front line repeatedly drifts across a leg;
- you are giving a controlled sniff break in an appropriate area;
- you have passed the busy entrance and the dog has settled.
The advantage is line management, not automatic comfort or safety. A back clip on a loose harness can still slide. A back clip on a dog that is towing forward can give the handler fewer directional options. If the dog can pull you off balance or reach hazards at the current leash length, change the environment and handling plan rather than expecting a different ring to solve the whole problem.
A dual-clip harness works only if you can switch calmly
Two attachment points are useful when they support a deliberate transition. Practise the transition at home or in a quiet area before trying it beside traffic, wildlife, or another dog.
- Stop in a stable place and shorten the leash without wrapping it around your hand.
- Ask the dog to pause in a position you can manage.
- Keep control of the existing connection while you locate the other ring.
- Move the clip, close it fully, and check that fabric or webbing is not trapped in the gate.
- Apply light tension for one or two steps and confirm that the harness stays centred.
- Continue only when the leash line is clear of the dog’s legs.
Do not unclip a dog in an unsecured place simply to change rings. If your leash and harness do not allow a controlled switch, choose the attachment before opening the car, gate, or door and keep it for that section.
Choose by the hardest five minutes, then reassess
Picture one ordinary outing as a sequence rather than one long walk.
Leaving home and crossing the street
A front connection may offer more useful direction through the doorway, pavement, and crossing. The bigger control decision is still timing: shorten before the curb, not after the dog has stepped into it.
Settling into a quiet park loop
If the dog is moving with you and the leash stays loose, a back connection can keep the line above the shoulders and away from the front legs. There is no prize for staying on the front ring when it no longer helps.
Passing a narrow or busy section
Switch before the bottleneck if you can do so in a calm, secure place. If you cannot switch safely, keep the current connection and create more distance or wait for the path to clear.
Returning to the car
Reassess before the environment gets busy again. Many handling mistakes happen at the end of an outing, when attention drops but car movement, people, and excited dogs increase.
This route-based approach is the main reason to choose a dual-clip layout: not because both rings must be used on every walk, but because the same harness can support different sections without a full equipment change.
Current dual-clip options on Mydoggg
The following notes come from current WooCommerce product data. They describe listed construction and attachment points; they are not independent fit, durability, or pulling-performance results.
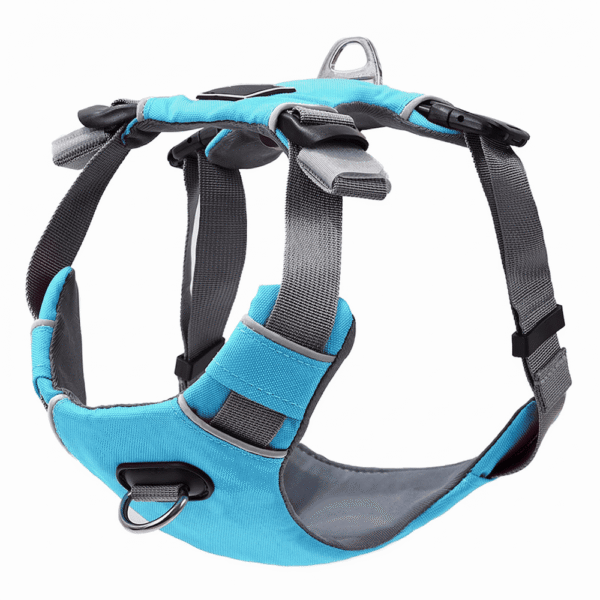
- No-Pull EVA Padded Adventure Harness: front and back leash points, an EVA-padded chest panel, four adjustment points, and reflective webbing. This is the blue-and-charcoal layout shown in the illustrative header.
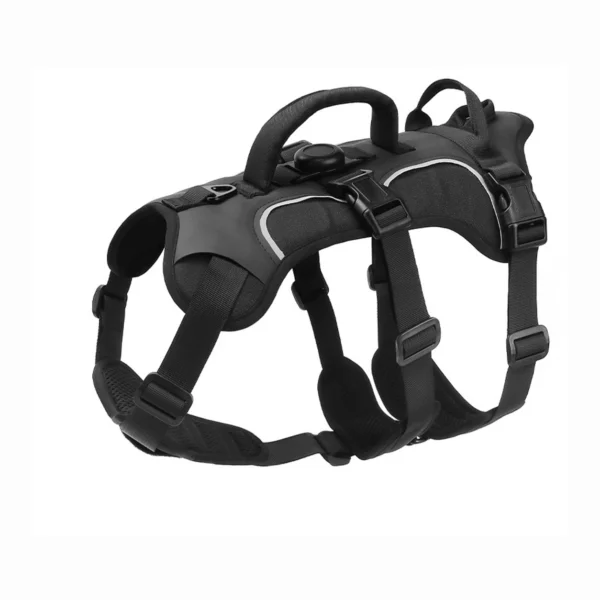
- 3-Strap Large Dog Harness with Control Handle: front and rear leash connection points, two separately adjustable belly straps, two control handles, and reflective piping. It is currently listed in black in L and XL.
“No-pull” is a product-category label, not a promise that clipping in will stop pulling. Compare attachment layout only after the size range and harness shape work for the dog in front of you.
Five mistakes that make the comparison meaningless
1. Testing either ring on a loose harness
If the chest panel swings or the back panel rolls, you are mostly testing poor fit. Centre the harness first.
2. Letting the dog accelerate before responding
Changing the ring does not remove the force of a full-speed hit at the end of the leash. Manage distance and shorten early.
3. Ignoring the leash path
Front clips deserve more attention around front legs. Back clips still require awareness around benches, brush, other dogs, and the handler’s own feet.
4. Switching in an exposed place
A roadside shoulder or open gate is not the place to discover that the clip is hard to operate. Practise where a dropped connection would not create the same risk.
5. Using clip choice instead of training or professional help
Attachment points change handling options; they do not diagnose fear, pain, frustration, or reactivity. If a dog lunges, panics, shows discomfort, or cannot be controlled at a safe distance, reduce the difficulty and seek appropriate veterinary or qualified training help.
Front-clip and back-clip questions
Is a front-clip harness always better for a dog that pulls?
No. It may give more directional influence, but fit, leash length, environment, training, and the handler’s ability still matter. Some dogs also experience more front-leg tangling if the line is not managed.
Is a back clip wrong for a pulling dog?
Not automatically. It can be useful on calm sections, but it usually offers less help with turning a dog that is driving straight ahead. Choose according to the situation you can safely manage.
Can I connect a leash to both rings at once?
Some double-ended leash systems are designed for two-point attachment. Do not improvise with two unrelated clips or assume that more hardware is automatically safer. Follow the harness and leash instructions, and learn the setup in a low-distraction place.
Can a front clip hurt a dog’s shoulders?
This article cannot assess an individual dog or harness shape. Any harness that restricts stride, rubs, rotates, or causes a change in movement needs to be removed and reassessed. Ask a veterinarian about pain, mobility changes, or a medical condition.
How do I know whether to switch during a walk?
Switch when the next section changes the handling job and you have a secure, calm place to do it. Do not switch merely to use every feature.
Make the decision before the difficult part starts
Start with the ring that suits the next five minutes, keep watching the leash path, and reassess when the route changes. If neither attachment stays centred, solve the fit before continuing.
For the rest of the outing—not just the harness—use the dog hiking gear checklist to plan water, identification, cleanup, communication, and route-specific extras. When you are ready to compare designs, browse Mydoggg dog harnesses by fit range, attachment points, and the handling job you actually need.